Precision parts. Reliable partnerships. Global possibilities.
FUNCTIONAL GRIP & MULTI-MATERIAL DESIGN

Overmolding

Add grip, comfort or protection where it matters. Combine a rigid base with a carefully selected second material in one coordinated component design.

Better Grip

Purposeful touch surfaces

Material Pairing

Compatibility reviewed

Integrated Design

Base and surface together

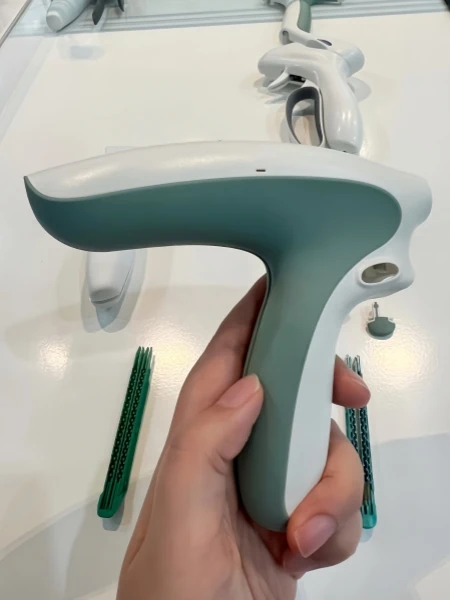
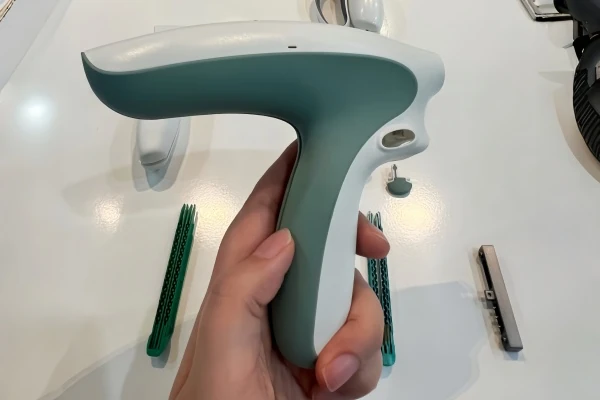
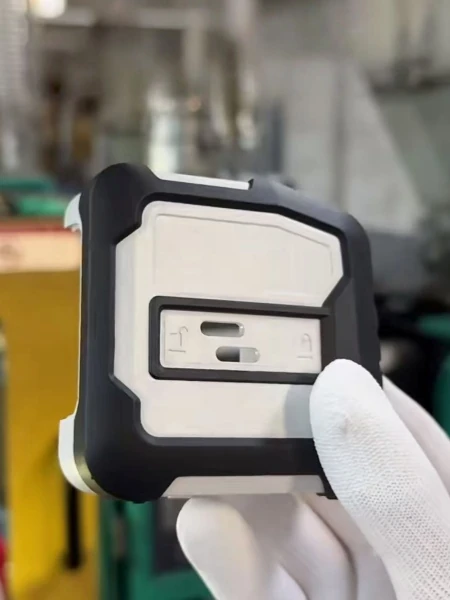
TPE overmolded ABS housing
OVERVIEW

What Is Overmolding?

Overmolding places one material over an existing substrate to create a finished component with more than one surface behavior. The base part, second material and interface geometry need to work together. Share the intended use and feel so the team can evaluate the molding route.

A second material placed over a planned base

Grip and touch zones designed into the part

Material compatibility reviewed before sampling

Overmolded Handgrip
EXPLORE THE POSSIBILITIES

Put the Right Surface in the Right Place.

Explore touch, grip and protective regions as part of one coordinated component.

Overmolded Handgrip
01 / GRIP ZONES

Make handling feel considered.

Locate softer contact areas where hands meet a rigid part, subject to material-pair review.

Overmolded Handgrip
02 / PROTECTIVE EDGES

Focus on exposed contact points.

Review edge coverage, geometry and the intended use before selecting a second material.

2k Two Color Injection Molded Parts
03 / INTEGRATED CONTROLS

Connect appearance and function.

Consider how touch regions, visual transitions and the base component work together.

Overmolded Handgrip
01 / GRIP & HANDLING

Place the second material where it has a purpose.

Overmolding adds material over a prepared base component. Begin with the reason for the added region, such as handling feel, grip or selected surface coverage, then review the material pair and geometry.

Map the touch zones

Identify where the product is held, pressed or supported. A drawing of the intended contact areas is more useful than a general request for a softer surface.

Define the base component

Share the base resin, geometry and assembly requirements. The rigid part must support the product while leaving room for the planned overmolded regions.

Consider the full shape

Review edges, transitions and coverage around the component. The added material should support the intended use without interfering with access or assembly.

02 / MATERIAL INTERFACE

Make the joining region part of the design.

The base material, second material and interface geometry work together. Bonding behavior depends on the chosen combination and process, so suitability needs to be reviewed for the actual application.

Material-pair review

Identify the selected base grade and desired second material. Discuss the required feel and service conditions before deciding on a proposed combination.

Retention and boundaries

Review the geometry at the material boundary and any mechanical retention features. Mark the areas that must stay uncovered or maintain a defined assembly dimension.

Environment and handling

State the temperature, cleaning agents and handling conditions the component will face. Include any application-specific bond or wear checks in the sample brief.

TPE overmolded ABS housing
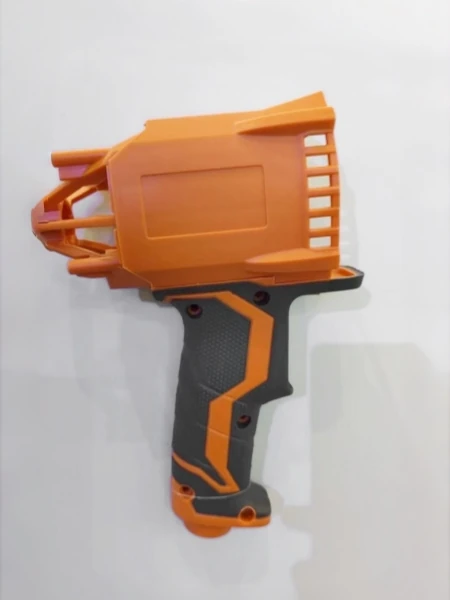
Orange and black overmolded tool housing
03 / SAMPLE EXPERIENCE

Approve how the complete component feels and fits.

A physical sample helps evaluate qualities that a rendering cannot show. Define the sample objective around the complete component rather than assessing only the appearance of the added material.

Feel and coverage

Review the surface feel, grip region and transitions on an actual part. Check that the chosen coverage supports the way the product is used.

Fit and clearances

Confirm that mating features, fastening points and access areas remain usable. Check the finished component with its relevant assembly references.

Agreed acceptance checks

Record the required appearance and interface checks. Use the approved material pair and sample as the reference for the next production step.

KEY ADVANTAGES

Why Choose Overmolding?

Functional Grip

Soft-touch areas at key contact points.

Material Choice

A base and surface pair for the part.

Part Integration

Coordinated geometry and appearance.

Design Flexibility

Grip zones, edges and touch controls.

APPLICATIONS

Ideal for Multiple Industries

From product development to practical applications, overmolding supports a range of project needs across industries.

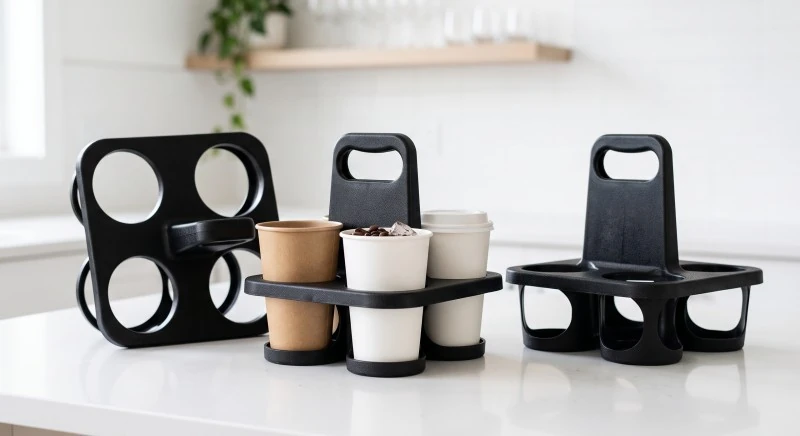
Plastic 4 cup takeout carrier

Packaging

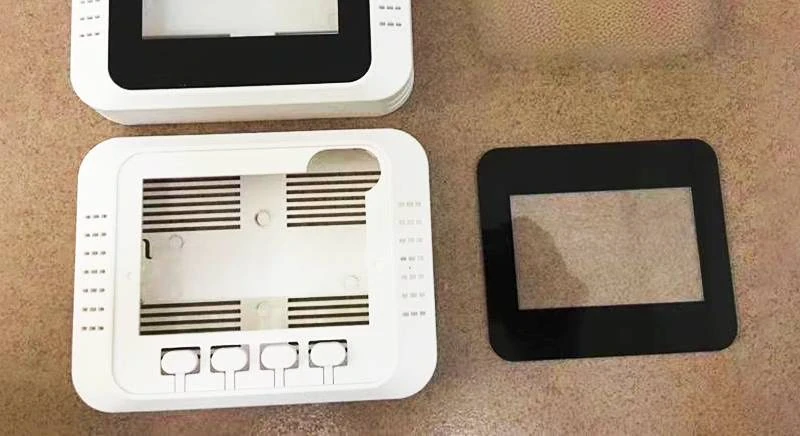
Plastic Wireless Access Point Enclosure

Consumer Electronics

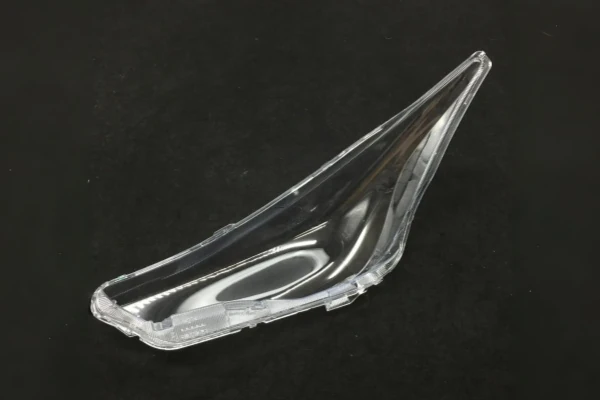
Plastic Automotive Headlight Lenses

Automotive

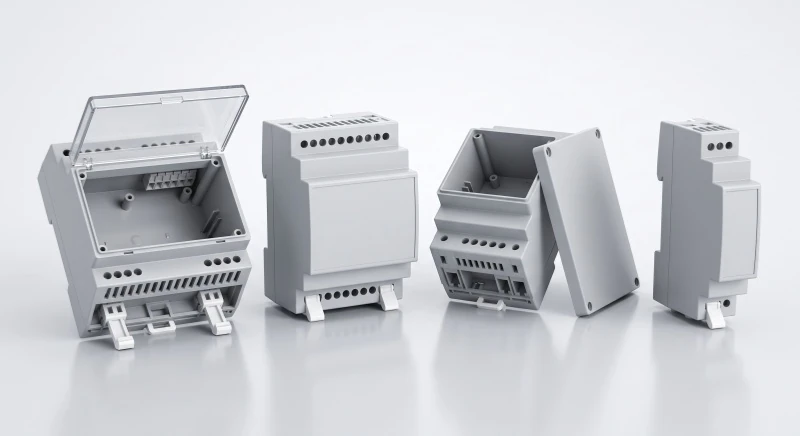
Plastic Injection Molded DIN Rail Enclosures

Industrial

Orange and black overmolded tool housing

Power Tools

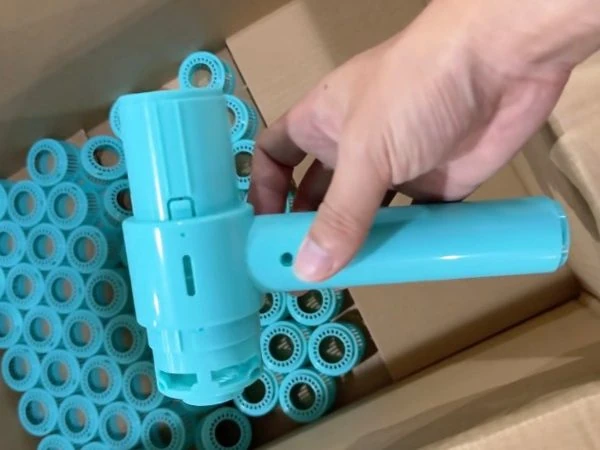
Injection molded hairdryer housings rotated

Home Appliances

OUR PROCESS

How We Deliver Your Parts

01

Define Your Design

Identify the base material and intended second-surface function.

02

Select Material Pair

Review interface geometry and material compatibility.

03

Overmold & Sample

Check surface feel, coverage and part fit on samples.

04

Check & Deliver

Confirm the approved appearance and inspection points.

MATERIALS & PROPERTIES

Available Materials & Key Properties

Discuss material options to match your performance, appearance and application needs. Final suitability follows project review.

Overmolded Handgrip
Material Type
Key Properties
Typical Applications
Rigid substrate

Provides structure and mounting geometry

Base component

TPE / TPU

Potential flexible grip surfaces

Touch areas

ABS or PC/ABS

Common housing base options

Visible enclosures

PP-compatible pair

Material pairing needs specific review

Functional shells

TPE overmolded ABS housing
DESIGN & SAMPLE GUIDE

Start with the Interface.

The base, second material and joining geometry need to be considered together.

01

Map the contact areas

Show the regions that need a different feel, grip or surface behavior on the part drawing.

02

Review the material pair

Identify the base resin and desired second material so bonding and process compatibility can be evaluated.

03

Approve feel and fit

Use samples to review coverage, transitions, tactile behavior and assembly fit.

PLAN YOUR PROJECT

Bring both materials into one project brief.

Overmolding decisions connect tactile requirements with geometry and material compatibility. Share the conditions the final component must handle before the route is confirmed.

Base component

The structural starting point

Drawing, resin grade, geometry and assembly references

Overmold regions

The purpose and location of the second material

Coverage map, desired feel and visual boundaries

Interface review

How the material regions work together

Material compatibility, retention and keep-clear areas

Sample approval

How the complete component is evaluated

Feel, coverage, fit and application-specific checks

Send your drawing, intended application, target quantity and any material, appearance or inspection requirements. The project review connects these inputs with a suitable production and sample-approval route.

FAQ

Frequently Asked Questions

Quick answers to common questions about our overmolding service.

What is overmolding used for?

It can add a second surface to a base part, for example a grip, soft-touch area or protective edge.

No. Bonding and process compatibility depend on the selected materials and geometry and must be checked for each project.

Color can be part of the brief; final appearance depends on the selected material and tooling route.

Possibly, but the part, access, heat response and tooling concept need review before feasibility can be confirmed.

Share a part drawing, base material, desired second material or feel, target quantity and use conditions.

START A CONVERSATION

Have a part in mind? Let's review it.

Share your drawings, material preference, estimated quantity and project goals. We will review the requirements with you.

Top