Precision parts. Reliable partnerships. Global possibilities.
METAL & PLASTIC INTEGRATION

Insert Injection Molding

Bring metal strength and plastic design freedom together. Mold threaded inserts, pins and contacts into a component designed for its final assembly.

Integrated Inserts

Metal and plastic together

Assembly Focused

Planned placement and fit

Secure Features

Retention reviewed early

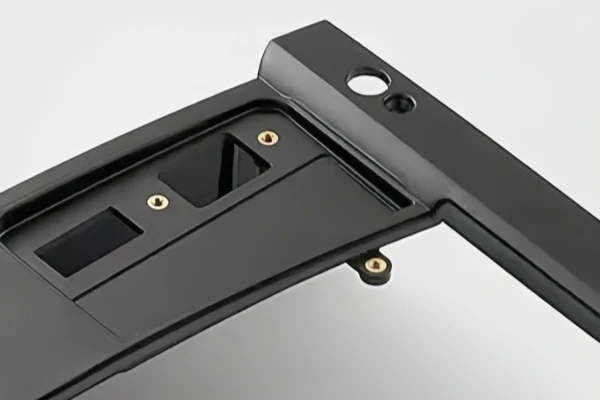
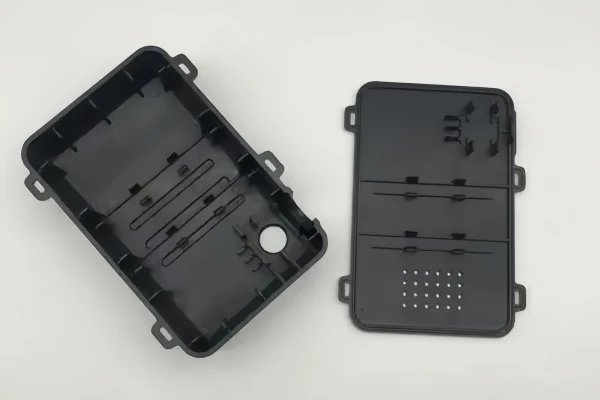
plastic Pin Connector Enclosure
OVERVIEW

What Is Insert Injection Molding?

Insert molding positions a prepared component inside the mold before plastic is formed around it. The insert, plastic geometry and expected loads all influence the tool design. Haixiang can review your drawing to plan placement, retention and inspection for the finished part.

Inserts positioned during the molding cycle

Retention geometry reviewed before tooling

Placement and assembly fit checked on samples

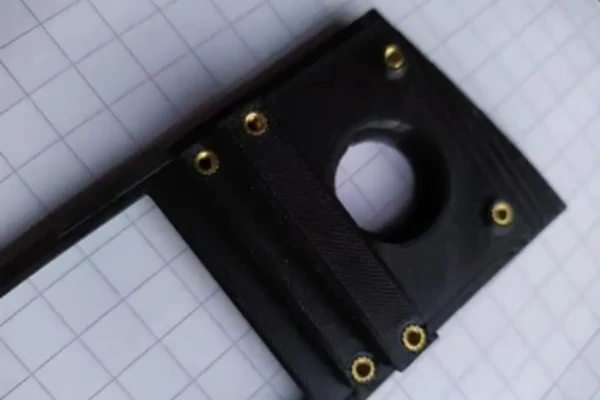
brass insert molding
EXPLORE THE POSSIBILITIES

Metal Features. Integrated by Design.

Choose the insert around its function, then plan the surrounding plastic and tooling together.

brass insert molding
01 / THREADED FEATURES

Plan reliable fastening points.

Review insert position and retention geometry for the assembly and its expected loads.

plastic Pin Connector Enclosure
02 / ELECTRICAL CONTACTS

Bring contacts into the component.

Coordinate contact placement, plastic support and access to the finished connection.

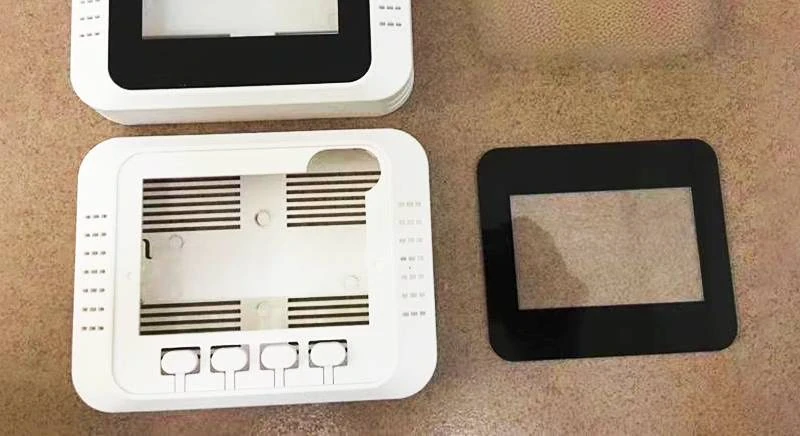
Plastic Insert Molding Parts
03 / INTEGRATED HOUSINGS

Reduce separate fitting steps.

Consider molded-in features early so the insert and housing can be evaluated together.

brass insert molding
01 / FASTENING FEATURES

Design the plastic around the insert’s job.

Insert molding places a preformed component within a molded plastic part. The insert specification and surrounding geometry need to be reviewed together so the finished component supports the intended assembly.

Threaded interfaces

Define the thread, insert position and access required for assembly. Include the fastening loads or repeated-use requirements that the interface must be evaluated against.

Retention geometry

Review how the insert is held within the surrounding plastic. Local wall sections, support features and the insert shape should be considered as part of the complete component.

Mating features

Identify the faces and dimensions that locate the insert relative to other parts. A clear drawing helps separate cosmetic requirements from the critical assembly interfaces.

02 / CONTACTS & POSITIONING

Keep the connection where the product needs it.

Pins, bushings and electrical contacts introduce features that must remain correctly located while plastic is molded around them. Plan the insert geometry, exposed areas and tooling access early.

Contact location

Mark the position and orientation of each contact or pin. Include the exposed regions and the clearances required by the mating connection.

Plastic coverage

Show which areas should be encapsulated and which must remain accessible. Review the surrounding resin, wall layout and potential material flow around the insert.

Component supply

Provide the insert drawing, material and relevant supply information. Discuss variation and handling needs when customer-supplied components are part of the project.

plastic Pin Connector Enclosure
Plastic Insert Molding Parts
03 / TOOLING & VALIDATION

Review the insert and molded part as one assembly.

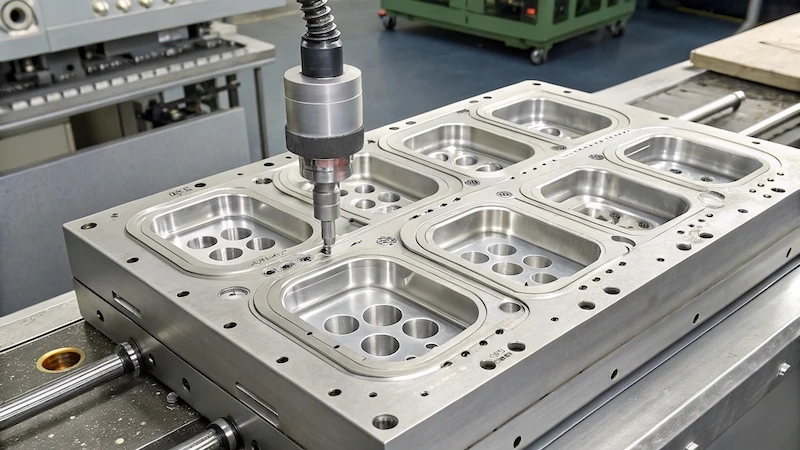
The molding route must locate the insert and form the plastic features around it. Agree on the checking method before samples are produced so the important interfaces receive focused attention.

Location in the tool

Discuss how the insert is supported and oriented during molding. Tooling access and part removal need to work with the finished component geometry.

Sample checks

Review insert placement, molded dimensions and assembly fit against the drawing. Specify any torque, pull-out or electrical checks required for the application.

Production reference

Record the approved insert specification and sample criteria. Identify which features need inspection and how the finished components should be handled and packed.

KEY ADVANTAGES

Why Choose Insert Injection Molding?

Integrated Features

Metal inserts captured in molded plastic.

Assembly Efficiency

Fewer separate insert-fitting steps.

Planned Retention

Geometry reviewed for expected loads.

Precise Placement

Sample checks for position and fit.

APPLICATIONS

Ideal for Multiple Industries

From product development to practical applications, insert injection molding supports a range of project needs across industries.

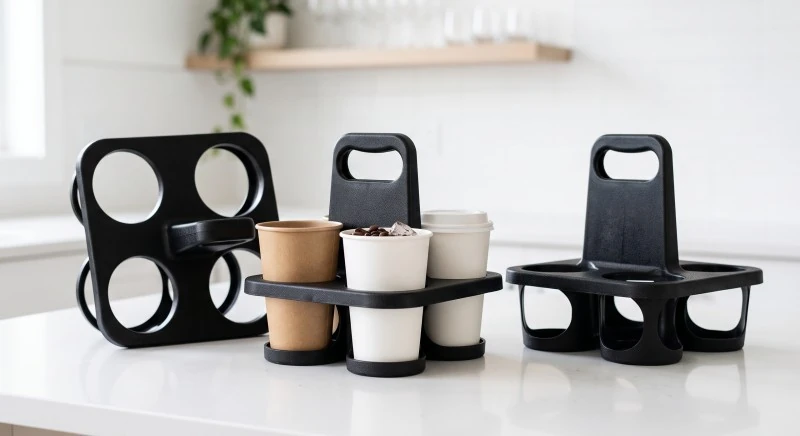
Plastic 4 cup takeout carrier

Packaging

Plastic Wireless Access Point Enclosure

Consumer Electronics

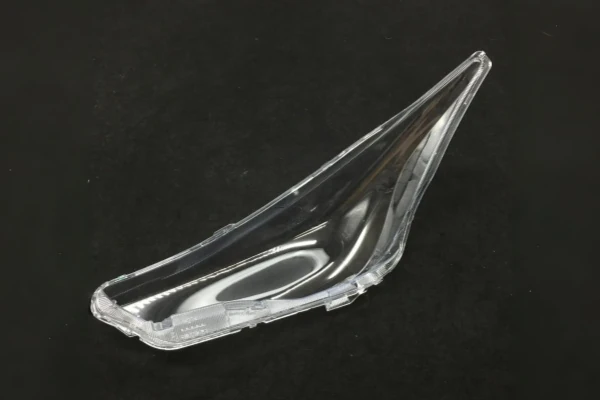
Plastic Automotive Headlight Lenses

Automotive

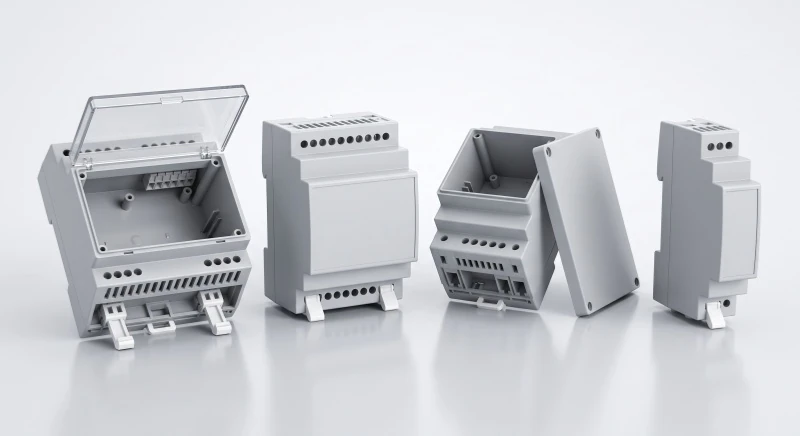
Plastic Injection Molded DIN Rail Enclosures

Industrial

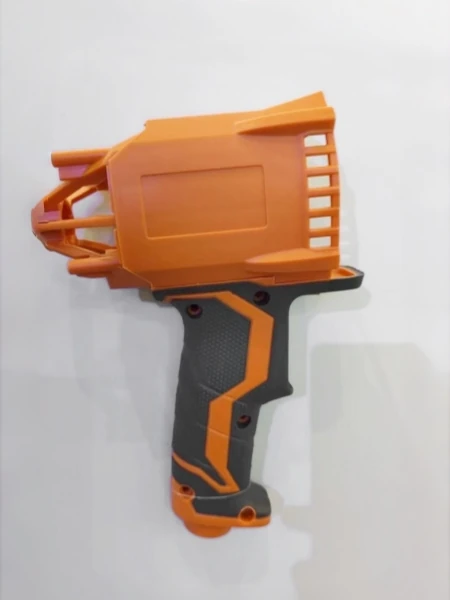
Orange and black overmolded tool housing

Power Tools

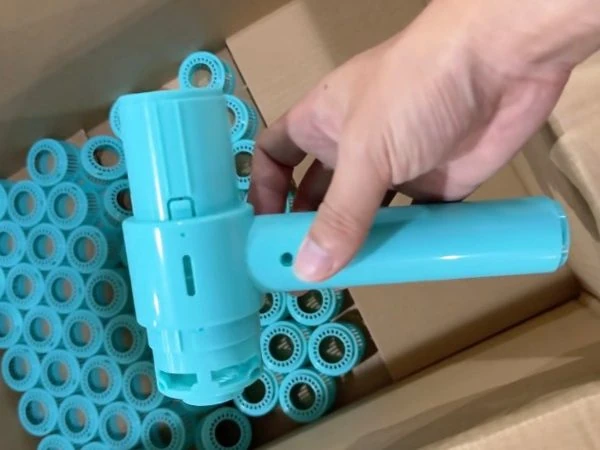
Injection molded hairdryer housings rotated

Home Appliances

OUR PROCESS

How We Deliver Your Parts

01

Share Your Drawing

Confirm insert dimensions, material and retention requirements.

02

Plan Insert & Mold

Define location and support of inserts during molding.

03

Mold & Sample

Check placement, fit and relevant mechanical expectations.

04

Inspect & Deliver

Inspect molded-in features against the approved sample.

MATERIALS & PROPERTIES

Available Materials & Key Properties

Discuss material options to match your performance, appearance and application needs. Final suitability follows project review.

brass insert molding
Material Type
Key Properties
Typical Applications
ABS

Good dimensional detail

Insert-bearing housings

PC

Toughness and electrical applications

Contact carriers

PC/ABS

Balanced impact and appearance

Device enclosures

PA (Nylon)

Strength around mechanical features

Threaded components

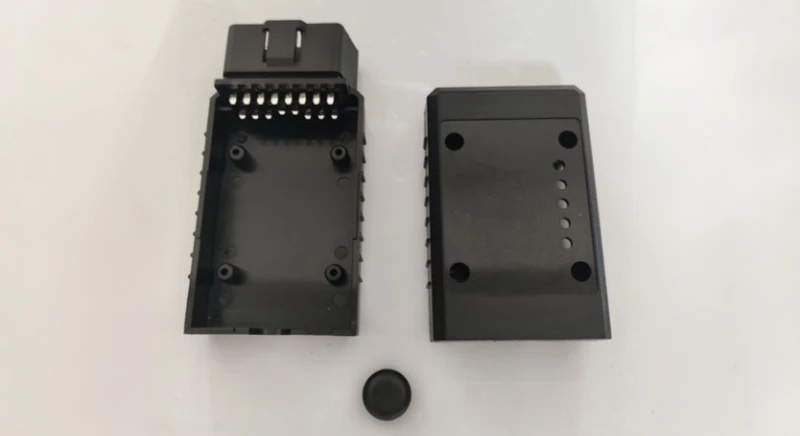
plastic Pin Connector Enclosure
DESIGN & SAMPLE GUIDE

The Insert Is Only Part of the Design.

A useful insert-molding brief connects the insert specification with the surrounding component.

01

Specify the insert

Provide its drawing, material and relevant supply details, including any customer-supplied parts.

02

Define retention and placement

Mark the intended position and any torque, pull-out or contact requirements that must be assessed.

03

Check the assembled sample

Review insert placement and the final fit against the approved drawing and sample criteria.

PLAN YOUR PROJECT

A complete insert brief makes the review clearer.

The metal or preformed component and the surrounding plastic share the same functional requirements. Define both sides of the interface before tooling decisions are made.

Insert specification

The component being molded into the part

Drawing, material, thread/contact details and supply source

Plastic component

The supporting molded geometry

Resin, wall layout, exposed areas and mating features

Tool location

The intended position during molding

Orientation, support points and loading access

Validation plan

The checks that demonstrate the required function

Placement, fit and any specified mechanical/electrical tests

Send your drawing, intended application, target quantity and any material, appearance or inspection requirements. The project review connects these inputs with a suitable production and sample-approval route.

FAQ

Frequently Asked Questions

Quick answers to common questions about our insert injection molding service.

Which inserts can be molded into a part?

Threaded fittings, pins and selected electrical contacts are common possibilities. The insert geometry and material need review.

We review the insert design, surrounding plastic geometry and expected mechanical load before tool planning.

That can be discussed; share its drawing, material and supply requirements so compatibility can be evaluated.

It may reduce some separate fitting steps, but the final assembly route depends on the whole product design.

Provide the plastic part drawing, insert specification, expected quantity and any torque, pull-out or electrical requirements.

START A CONVERSATION

Have a part in mind? Let's review it.

Share your drawings, material preference, estimated quantity and project goals. We will review the requirements with you.

Top