Precision parts. Reliable partnerships. Global possibilities.
COLOR, TEXTURE & THE FINAL DETAIL

Surface Finishing

Give your plastic component its intended appearance. Coordinate selected surface treatments, color and marking with the resin, part design and final application.

Considered Finish

Color and texture defined

Material Aware

Treatment reviewed for resin

Sample Approved

An agreed visual reference

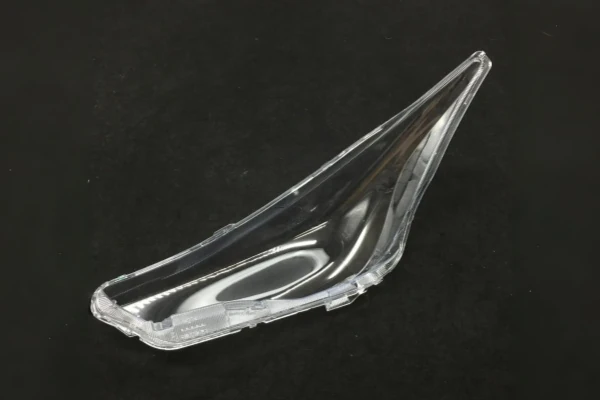
plastic surface painting
OVERVIEW

What Is Surface Finishing?

A molded component may need an additional visual or functional finish before it is ready for an assembly. Depending on the part and material, the project can consider painting, printing, engraving, plating or other secondary work. The desired finish and inspection standard should be defined with the drawing.

Finish selected for resin and part use

Color, texture and markings defined early

Samples compared with an approved reference

mold texturing and graining
EXPLORE THE POSSIBILITIES

One Part. Different Expressions.

The finish shapes how a product looks and feels. Start with the appearance you want, then review the right route for your part.

mold texturing and graining
01 / MOLDED TEXTURE

Define the texture in the tooling.

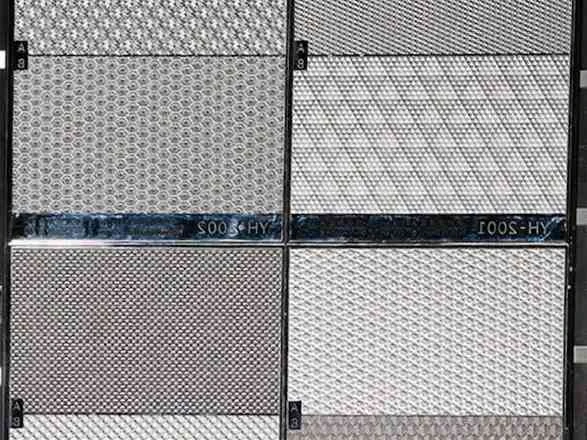
Agree on the grain and texture reference for visible molded surfaces. The selected tool surface helps define the appearance of the final part.

custom color painting
02 / COLOR & COATING

Coordinate the color and surface effect.

Use a color reference and sample to review painting, gloss and the appearance of the finished component.

High Gloss Polishing plastic
03 / POLISH & APPEARANCE

Review the visible finish together.

Discuss the important cosmetic faces and the surface result before approving the sample for regular production.

mold texturing and graining
01 / THE SURFACE STARTS IN THE TOOL

Build the look into the molded part.

A surface finish is not always an extra layer. The mold surface, selected resin and part geometry work together to shape the appearance straight from molding. Plan the cosmetic faces while the tool is still being defined.

Texture with a purpose

A fine grain can give a housing a restrained matte appearance. Review the depth, pattern and direction alongside draft, parting lines and the faces a customer will see.

Smoothness and gloss

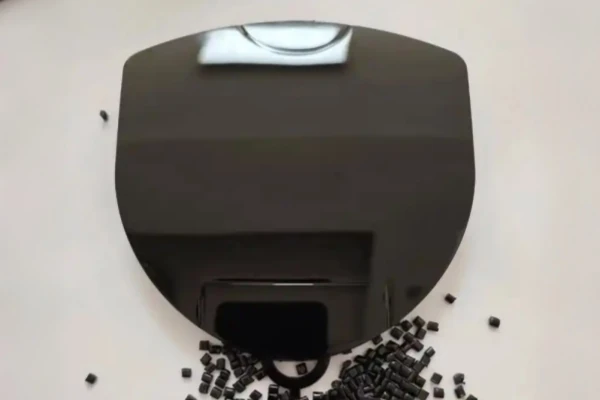
A polished tool surface provides a different starting point from a textured cavity. The molded result also depends on the resin and process; agree on a sample rather than relying on a screen image.

Carry the finish across the assembly

Consider adjacent components, joining lines and visible edges together. Identify where texture or polish must stop so the housing looks intentional when assembled.

02 / COLOR, SHEEN & THE RIGHT AREAS

Color is a specification, not just a swatch.

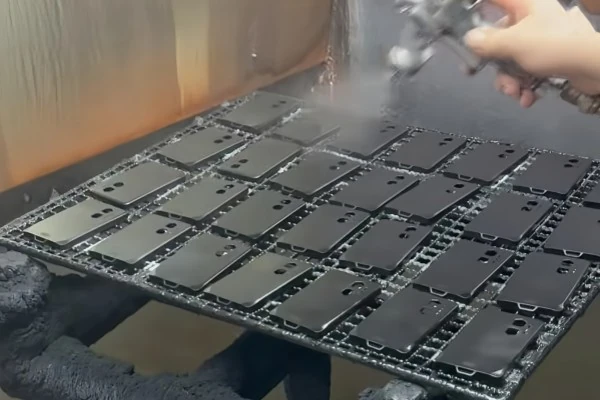
Decide whether the desired appearance should come from the resin color, an in-mold surface or a secondary painting step. Each route needs a clear target and a review of the actual substrate and component.

Define a useful color reference

Share the target color code or physical master sample, desired gloss and the important viewing faces. Compare the color on the intended part and under agreed viewing conditions.

Plan masking and functional interfaces

Mark the faces to be treated and the areas to leave clear. Snap features, screw interfaces, mating surfaces and contact locations may need a different treatment from the outside shell.

Validate the selected combination

Review the proposed finish on the specified resin. Include any required adhesion, abrasion or cleaning checks in the brief so the sample is assessed against the actual application.

plastic surface painting
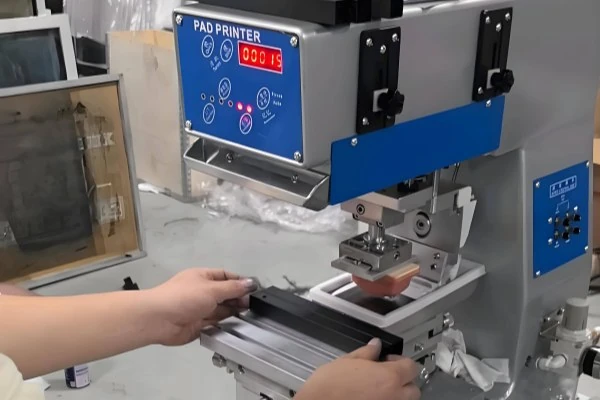
Silk printing on plastic parts and enclosures
03 / GRAPHICS THAT BELONG ON THE PART

Make every mark clear and considered.

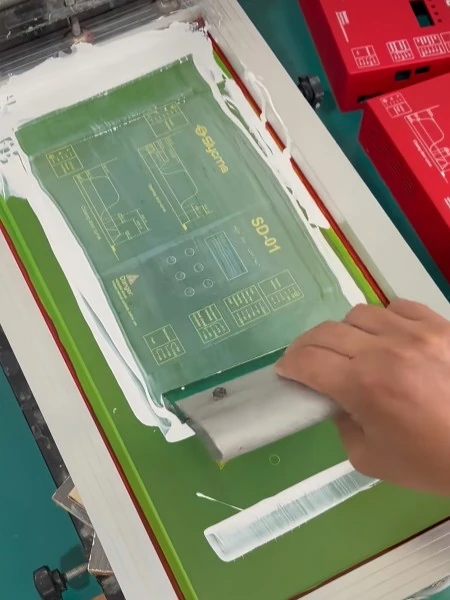
Control icons, legends and brand details are part of the component design. Plan the artwork with the surface curvature, access and background color so the marking can be positioned and checked consistently.

Supply artwork and a location drawing

Include the artwork, target colors, orientation and position relative to defined part features. Identify the reference edges used to check alignment.

Review the surface before selecting the route

A flat panel and a curved housing present different printing conditions. Discuss the geometry and resin with the artwork to choose a suitable process and ink system.

Approve readability on the sample

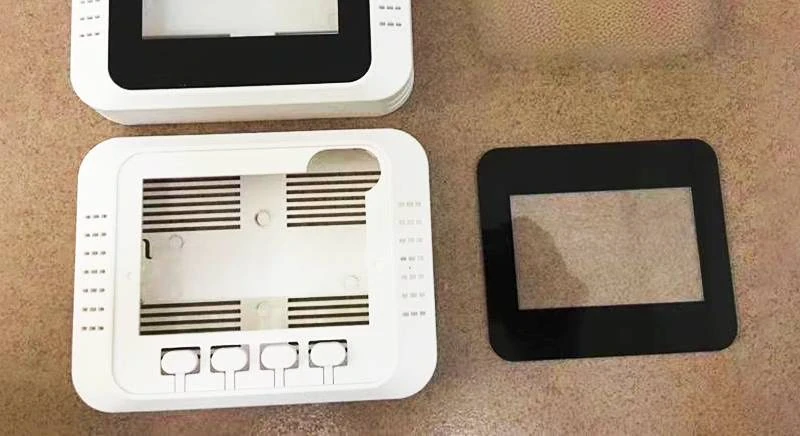
Check contrast, line detail and placement on an actual component. If the product will be cleaned or frequently handled, state the required resistance checks before release.

KEY ADVANTAGES

Why Choose Surface Finishing?

Finished Appearance

Color and texture with a clear purpose.

Material Awareness

Methods reviewed for the chosen resin.

Defined Reference

A sample sets the inspection standard.

Coordinated Supply

Molding and finishing planned together.

APPLICATIONS

Ideal for Multiple Industries

From product development to practical applications, surface finishing supports a range of project needs across industries.

Plastic 4 cup takeout carrier

Packaging

Plastic Wireless Access Point Enclosure

Consumer Electronics

Plastic Automotive Headlight Lenses

Automotive

Plastic Injection Molded DIN Rail Enclosures

Industrial

Orange and black overmolded tool housing

Power Tools

Injection molded hairdryer housings rotated

Home Appliances

OUR PROCESS

How We Deliver Your Parts

01

Share Your Reference

Provide the target color, texture and marking reference.

02

Select Finish Route

Evaluate the treatment against part material and shape.

03

Finish & Sample

Approve a sample for appearance and durability needs.

04

Approve & Deliver

Inspect the finished part against the agreed reference.

FINISHING OPTIONS

FINISHING OPTIONS

Compare finishing routes for your plastic parts. The right choice depends on the resin, appearance and intended use.

mold texturing and graining
Finish Type
Key Properties
Typical Applications
Color and texture

Defined visual reference

Visible housings

Printing / marking

Legends and brand details

Controls and panels

Painting

Selected color or surface effect

Decorative parts

Plating / coating

Specific finish subject to resin review

Selected enclosures

plastic surface painting
FINISH-READY DESIGN GUIDE

A Clear Brief. A Better Finish.

Plan the surface before the final production step. These three details make a finishing discussion more useful.

01

Define the visible surfaces

Mark the cosmetic faces, color, texture and logo positions on your drawing. Include a physical sample or an agreed visual reference.

02

Protect the functional details

Identify mating faces, threads, contact points and areas that must remain free of coating or printing. Review these alongside the resin.

03

Agree on the approval sample

Review appearance, fit and any specified checks on a sample. Use the agreed reference to guide the production finish.

BRING THE OPTIONS TOGETHER

Choose the route around the result.

Start with the required appearance and use conditions, then compare the practical routes. The same enclosure may combine a molded texture, selected color and printed details.

Mold texture / polish

An appearance formed by the tool surface

Texture or polish reference, cosmetic faces and draft review

Resin color

A color carried through the molded component

Resin grade, color reference and sample agreement

Painting / selected coating

A secondary appearance on defined surfaces

Substrate review, gloss, masking and application checks

Printing / marking

Legends, icons and visual identification

Artwork, position drawing, contrast and required durability

For a useful review, send the drawing, resin preference, quantity, finish reference and any inspection or handling requirements. Plating and other specialist treatments need a separate suitability review; suitability cannot be assumed from the resin family alone.

FAQ

Frequently Asked Questions

Quick answers to common questions about our surface finishing service.

What finishing options can be reviewed?

Depending on the part, painting, printing, engraving, plating and other secondary work may be considered.

No. Adhesion, appearance and durability depend on the resin, geometry and application.

Provide a target reference or specification so a sample can be reviewed against your expectations.

Early in the design and tooling review, because geometry and material choices influence finish options.

An agreed sample and inspection reference provide the basis for production checks.

START A CONVERSATION

Have a part in mind? Let's review it.

Share your drawings, material preference, estimated quantity and project goals. We will review the requirements with you.

Top