Precision parts. Reliable partnerships. Global possibilities.
CUSTOM TOOLING & PART-LED ENGINEERING

Mold Manufacturing

Precision tooling starts with the finished part. Connect mold planning, machining and sampling around your resin, geometry and production objectives.

Part-Led Tooling

Geometry reviewed early

Sample Focused

Practical fit and finish checks

Production Planning

A tool for your demand

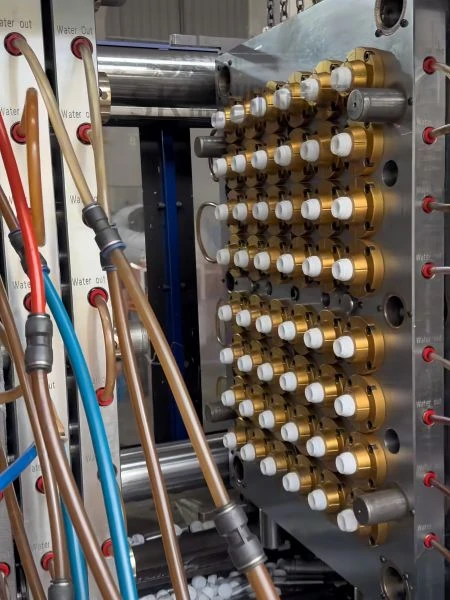
multi cavity mold
OVERVIEW

What Is Mold Manufacturing?

A production mold translates a component design into a repeatable manufacturing process. Haixiang reviews the part, its chosen resin and expected quantity before planning mold construction, sampling and refinements. Clear drawings and use-case details help define the right tooling path.

Tool concept starts with the finished part

Material, release and surface needs considered

Sampling supports practical refinements

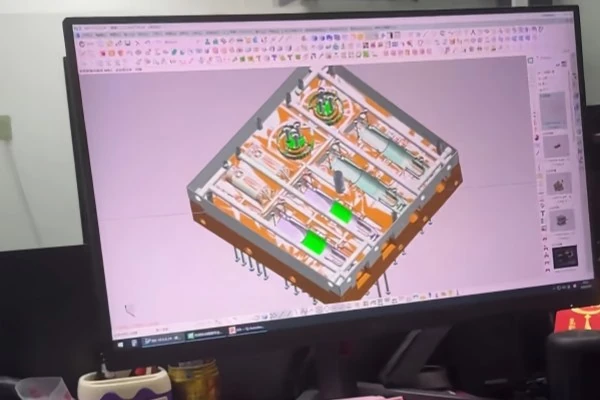
DFM Model Flow Analysis
EXPLORE THE POSSIBILITIES

Tooling Shaped by the Production Goal.

Start with the finished component, then define the mold construction and sampling route.

multi cavity mold
01 / PART-LED TOOLING

Build around the geometry.

Review release, molded features and the chosen resin as part of the tool concept.

multi cavity mold
02 / CAVITY PLANNING

Connect the mold to demand.

Discuss expected quantity and part layout before deciding the appropriate cavity approach.

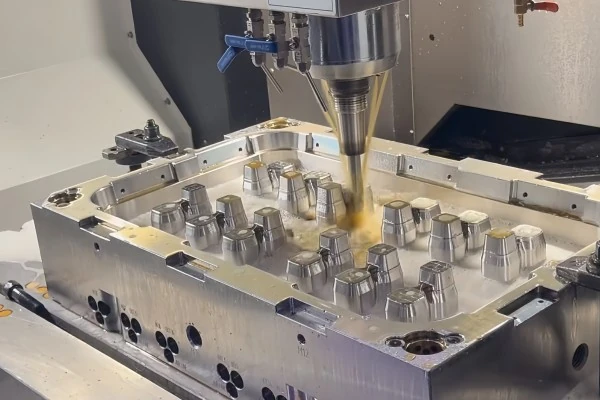
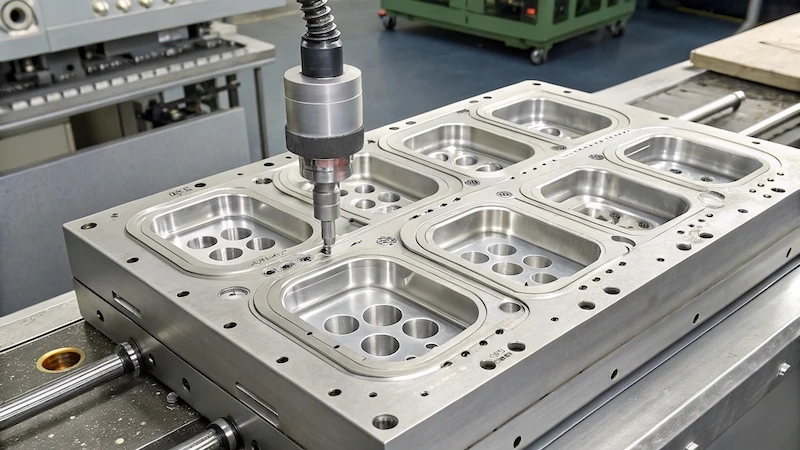
injection mold 5 axis CNC precision processing
03 / SAMPLING & REFINEMENT

Use parts to guide the next step.

Evaluate first samples against the drawing and confirm any agreed tool refinements.

DFM Model Flow Analysis
01 / PART-LED TOOL DESIGN

Start with the component the mold must produce.

A mold is developed around the part geometry, selected resin and production brief. Review the functional and cosmetic requirements before confirming how the cavity, core and release features should be arranged.

Geometry and tool access

Share the complete 2D and 3D design with the important interfaces marked. Discuss undercuts, release direction and features that may require a more involved tool concept.

Visible surfaces

Identify cosmetic faces, texture and polish references. Review where parting lines, gates and ejection features may appear on the finished component.

Production expectations

State the expected quantities, order pattern and intended material. These inputs inform the discussion of tool construction and cavity approach.

02 / CONSTRUCTION & PROCESS

Connect the tool features to the molding route.

Cavity construction is one part of the tooling decision. Filling, cooling, release and handling should be considered together so the tool supports the required geometry and production process.

Cavity and core features

Review the molded shape and the access needed to form it. Define the critical dimensions and the surfaces where manufacturing or polishing details require attention.

Flow and cooling

Discuss gate positions, material flow and cooling within the proposed design. These choices need to suit the resin, part shape and production requirements.

Release and handling

Plan how the part is removed and handled without interfering with important features. Include assembly interfaces and visible surfaces in the review.

multi cavity mold
plastic bottle caps manufacturing with multi cavity mold
03 / TRIALS & APPROVAL

Let molded samples guide the final refinements.

Tool review becomes more useful when sample acceptance is defined in advance. Check the first molded components against the drawing and record the changes needed before the production reference is agreed.

Dimension and fit

Review the features that control the final assembly. Use mating parts or defined references where available, rather than checking isolated dimensions without context.

Surface and appearance

Compare color, texture, polish and relevant tool marks with the agreed brief. Identify the surfaces where any refinement is needed.

Release criteria

Document the approved drawing, sample and inspection points. Confirm the tool and part requirements that need to be satisfied before regular production begins.

KEY ADVANTAGES

Why Choose Mold Manufacturing?

Part-Led Design

Tooling shaped around the component.

Tooling Review

Release, finish and material considered.

Sample Refinement

First parts guide agreed adjustments.

Production Fit

A construction suited to project goals.

APPLICATIONS

Ideal for Multiple Industries

From product development to practical applications, mold manufacturing supports a range of project needs across industries.

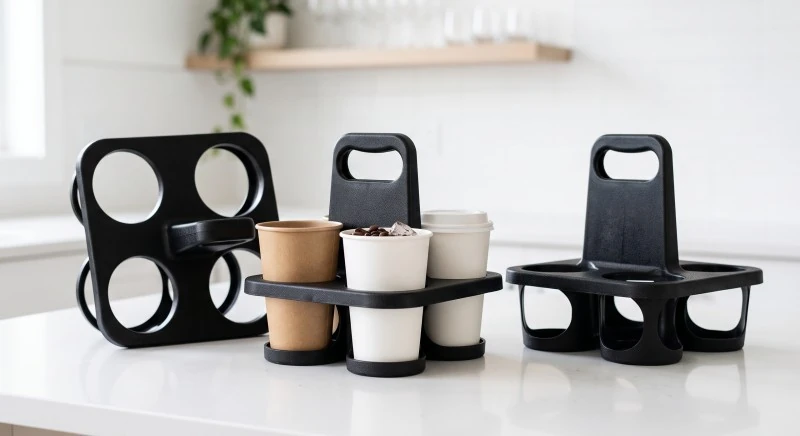
Plastic 4 cup takeout carrier

Packaging

Plastic Wireless Access Point Enclosure

Consumer Electronics

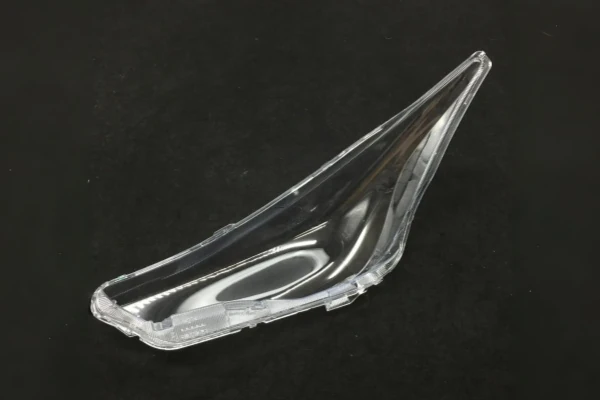
Plastic Automotive Headlight Lenses

Automotive

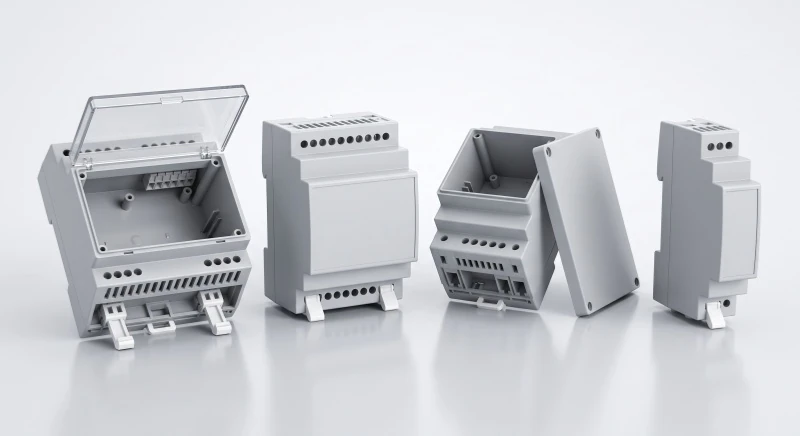
Plastic Injection Molded DIN Rail Enclosures

Industrial

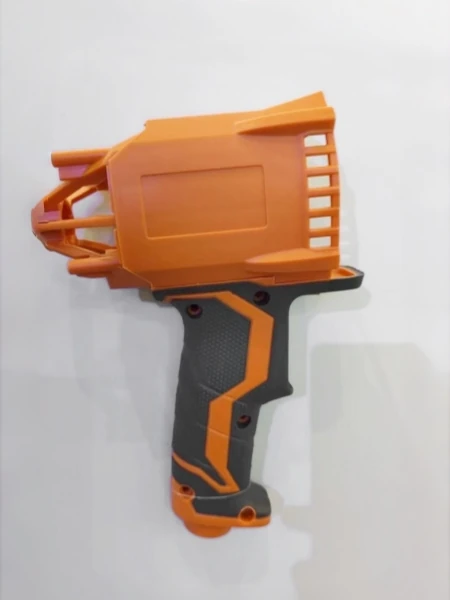
Orange and black overmolded tool housing

Power Tools

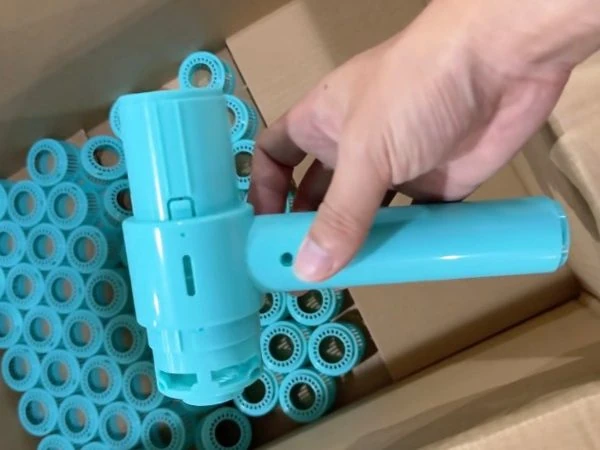
Injection molded hairdryer housings rotated

Home Appliances

OUR PROCESS

How We Deliver Your Parts

01

Send 2D / 3D Files

Examine geometry, assembly, surface and material requirements.

02

Design Your Mold

Agree on the tooling concept and project milestones.

03

Machine & Sample

Build the mold and review its first molded parts.

04

Approve & Deliver

Apply approved refinements before regular production.

MATERIALS & PROPERTIES

Available Materials & Key Properties

Discuss material options to match your performance, appearance and application needs. Final suitability follows project review.

DFM Model Flow Analysis
Material Type
Key Properties
Typical Applications
Steel tool

Durability selected for production goals

Repeat molding

Aluminum tool

Alternative route for suitable projects

Development or volume review

Molded resin

Flow and shrinkage inform tool design

Part-specific tooling

Surface specification

Finish and texture affect tool detail

Visible components

multi cavity mold
DESIGN & SAMPLE GUIDE

A Clear Tooling Brief Saves Revisions.

Part geometry, production expectations and approval criteria form the basis of the mold review.

01

Share the complete design

Provide 2D and 3D files with the resin, assembly interfaces and key visual requirements.

02

Define production expectations

Discuss target quantities, project timing and any special handling or inspection needs.

03

Agree on sample approval

Identify what needs to be checked on first parts before the tool is released for production.

PLAN YOUR PROJECT

Turn the part requirements into a tooling brief.

The mold review should connect the intended component to the production goal. Share these inputs together so construction and sampling decisions have a clear basis.

Part package

The complete geometry and assembly context

2D/3D files, critical dimensions and mating references

Material brief

The resin and surface requirements

Grade preference, finish, color and use conditions

Production plan

The expected demand and tool use

Quantities, order pattern and cavity discussion

Tool approval

The checks for first molded parts

Dimensions, fit, appearance and agreed refinements

Send your drawing, intended application, target quantity and any material, appearance or inspection requirements. The project review connects these inputs with a suitable production and sample-approval route.

FAQ

Frequently Asked Questions

Quick answers to common questions about our mold manufacturing service.

What information is needed to make a mold?

A part drawing, resin preference, expected quantity, key tolerances and visual requirements provide the basis for a tooling review.

Sampling provides a point to review fit and appearance; changes are evaluated against the tool construction and agreed scope.

Yes. Tool material and construction should follow the part, production volume and project objectives.

Yes. Plastic injection molding is a listed service and can be planned with the tooling program.

It depends on geometry, tool complexity, materials, review cycles and the agreed production route; timing is confirmed after project review.

START A CONVERSATION

Have a part in mind? Let's review it.

Share your drawings, material preference, estimated quantity and project goals. We will review the requirements with you.

Top